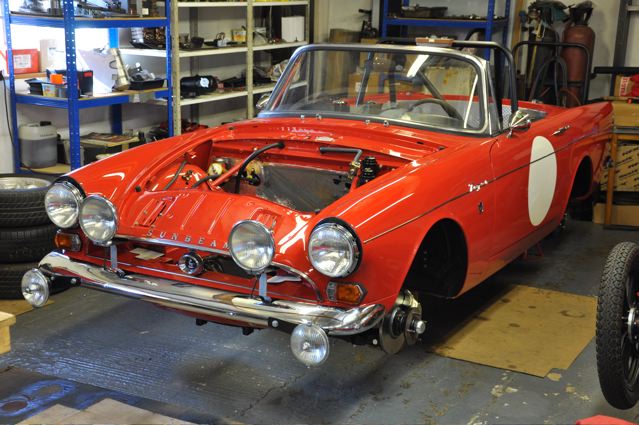
Last night Adam and Simon helped take the body off the wooden support horses
and put it back on the chassis. I had, the previous night, prepped all the chassis with the foam rubber and J-shaped clip on threaded nut clip things that Citroen use to fix down.
This is a really good idea… The chassis holes allow about a 5mm wiggle room, so clean up the old bolts, a bit of grease and screw all in a few turns. The rear 2 bolts needed longer nuts and proper bolts as this end was sitting up a little…well maybe 25mm on the driver’s side. I used some of our spread washers 097.210 (see http://www.holden.co.uk/displayproduct.asp?pCode=097.210) inside the car.
This all worked a treat and now 18 bolts later it’s nearly fully attached. I just have the larger 4 bolts which are at the widest point and are contained down in the cross members of the chassis and reinforcing box section of the new floor. This is the next job, and it all lines up so will be easy, but I wanted to use some new bolts, large spread washers 097.212 (http://www.holden.co.uk/displayproduct.asp?pCode=097.212) new spring washers 097.424 (http://www.holden.co.uk/displayproduct.asp?pCode=097.424), all of which were raided from the Holden “Fixings dept.”
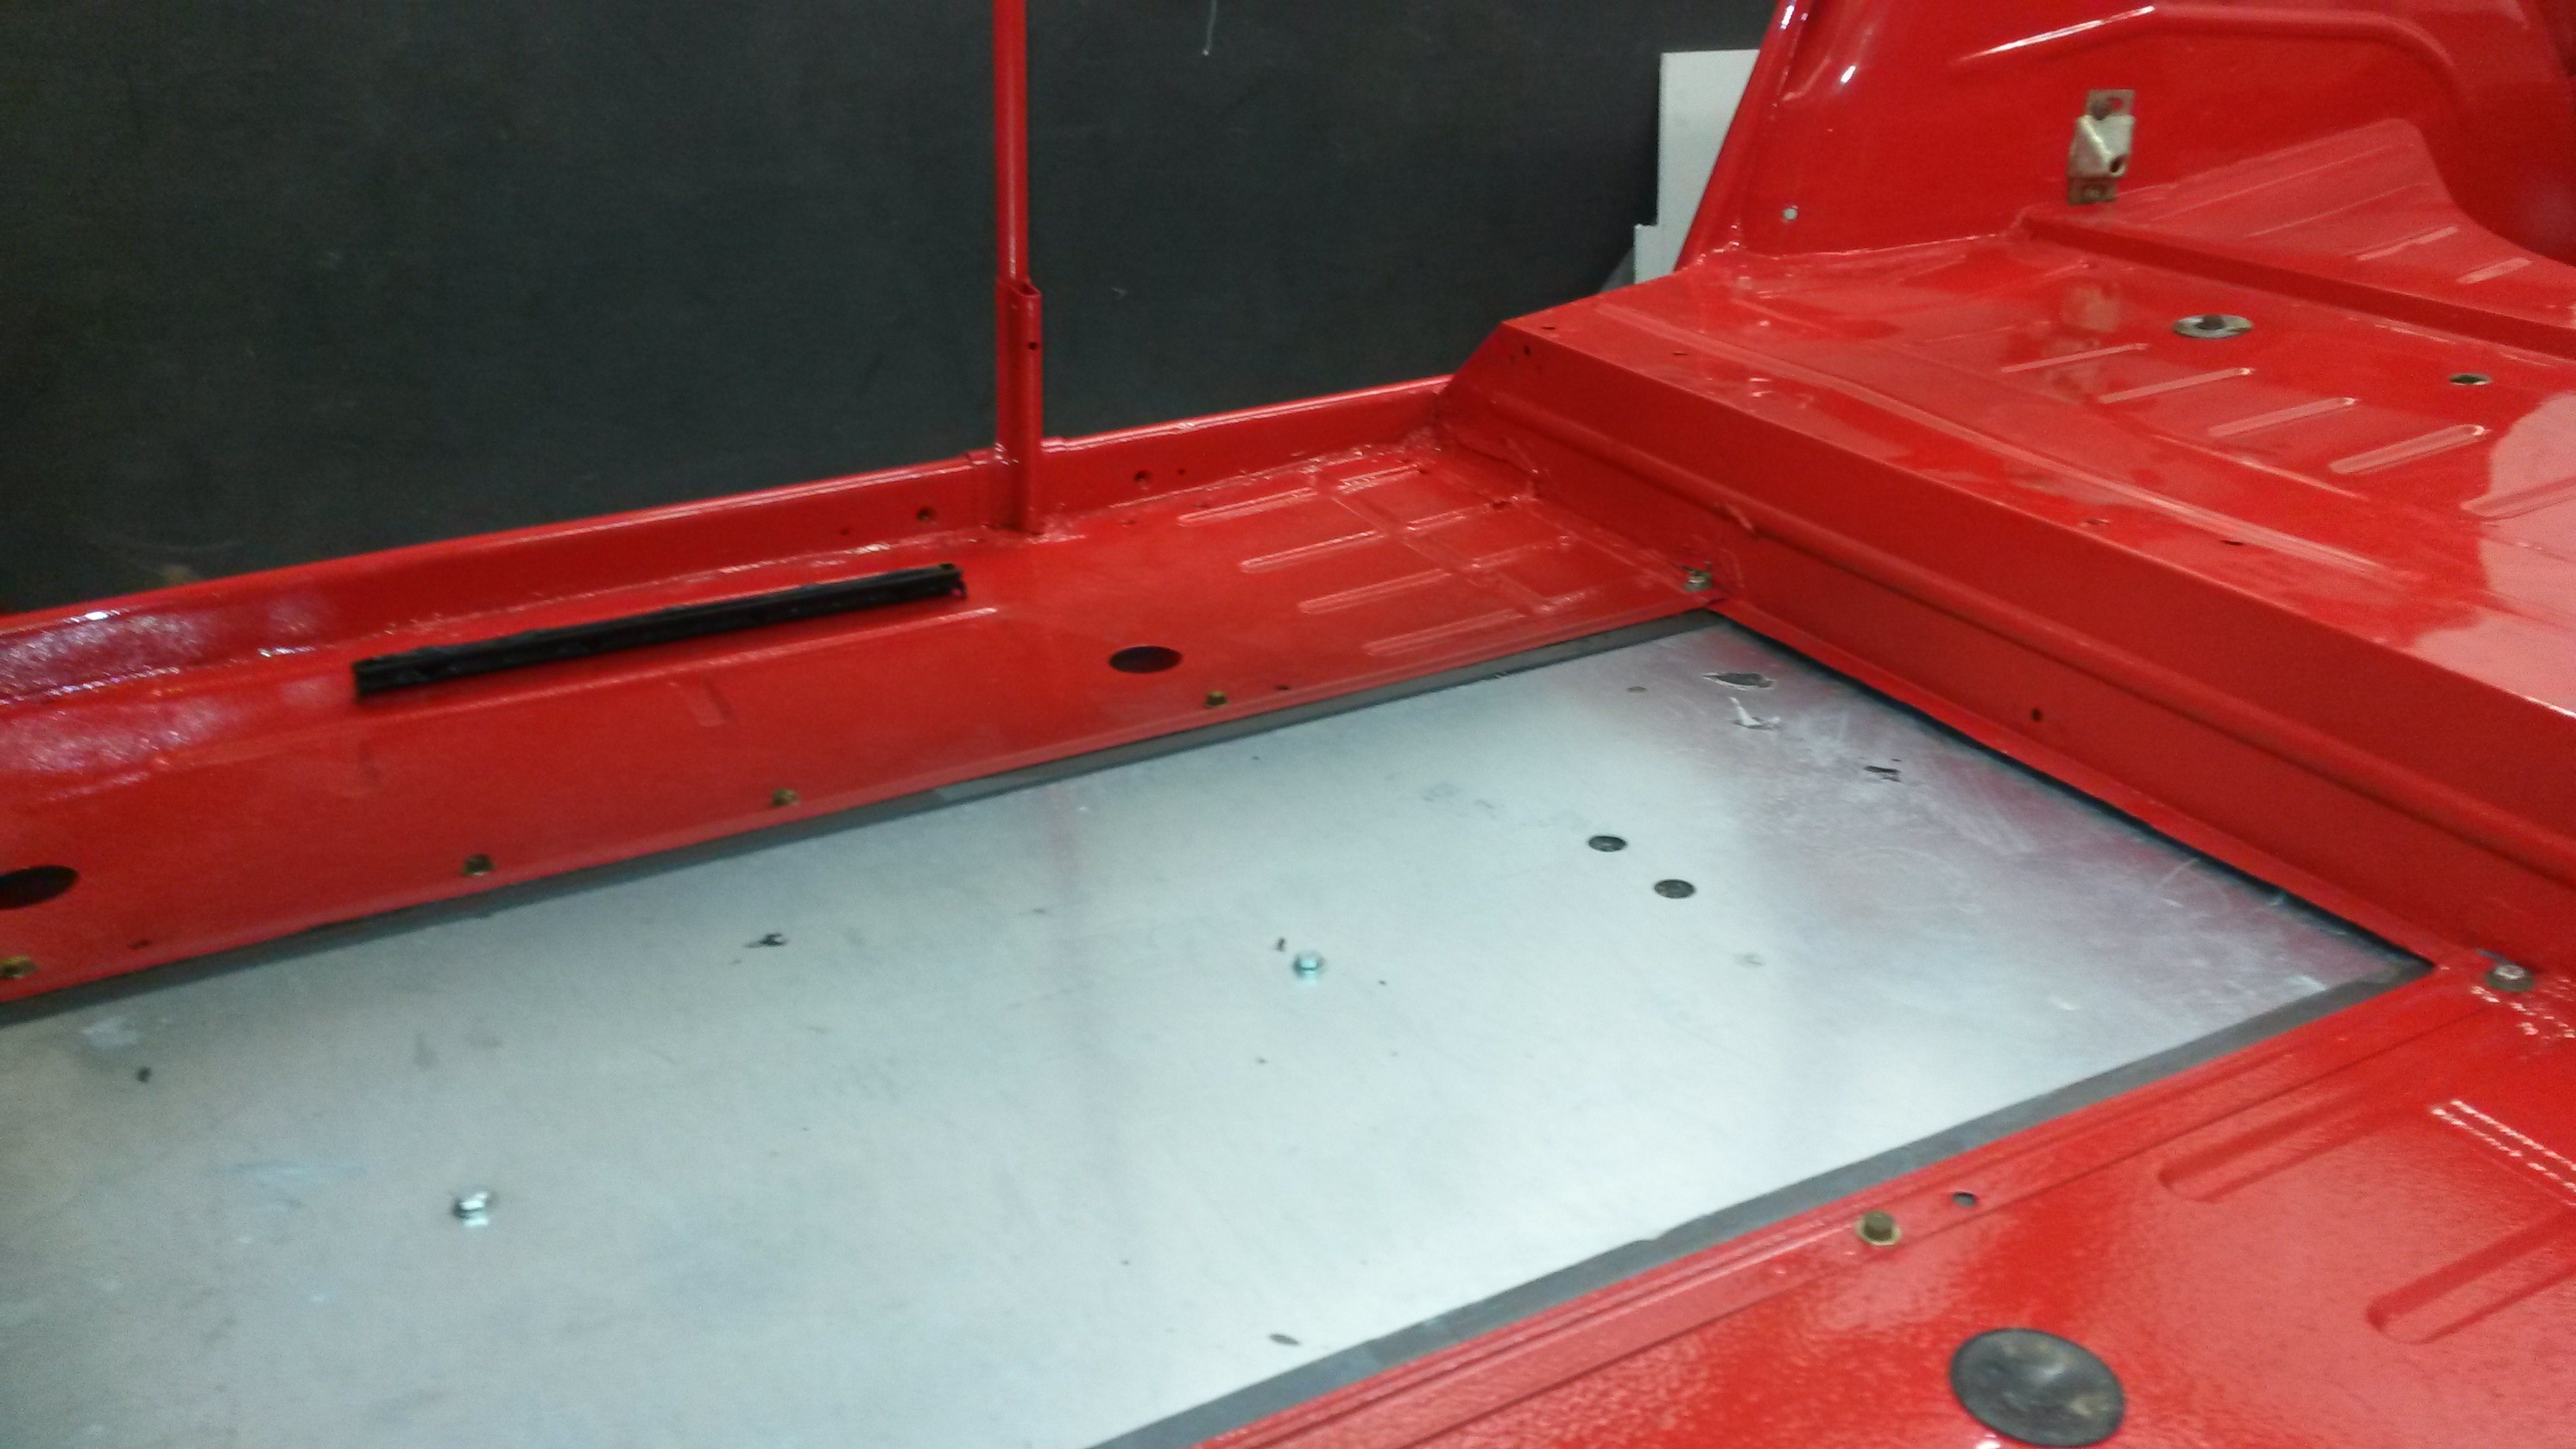


The body shell is now securely bolted down to the chassis, with new sealing foam between the chassis and the floor panel.
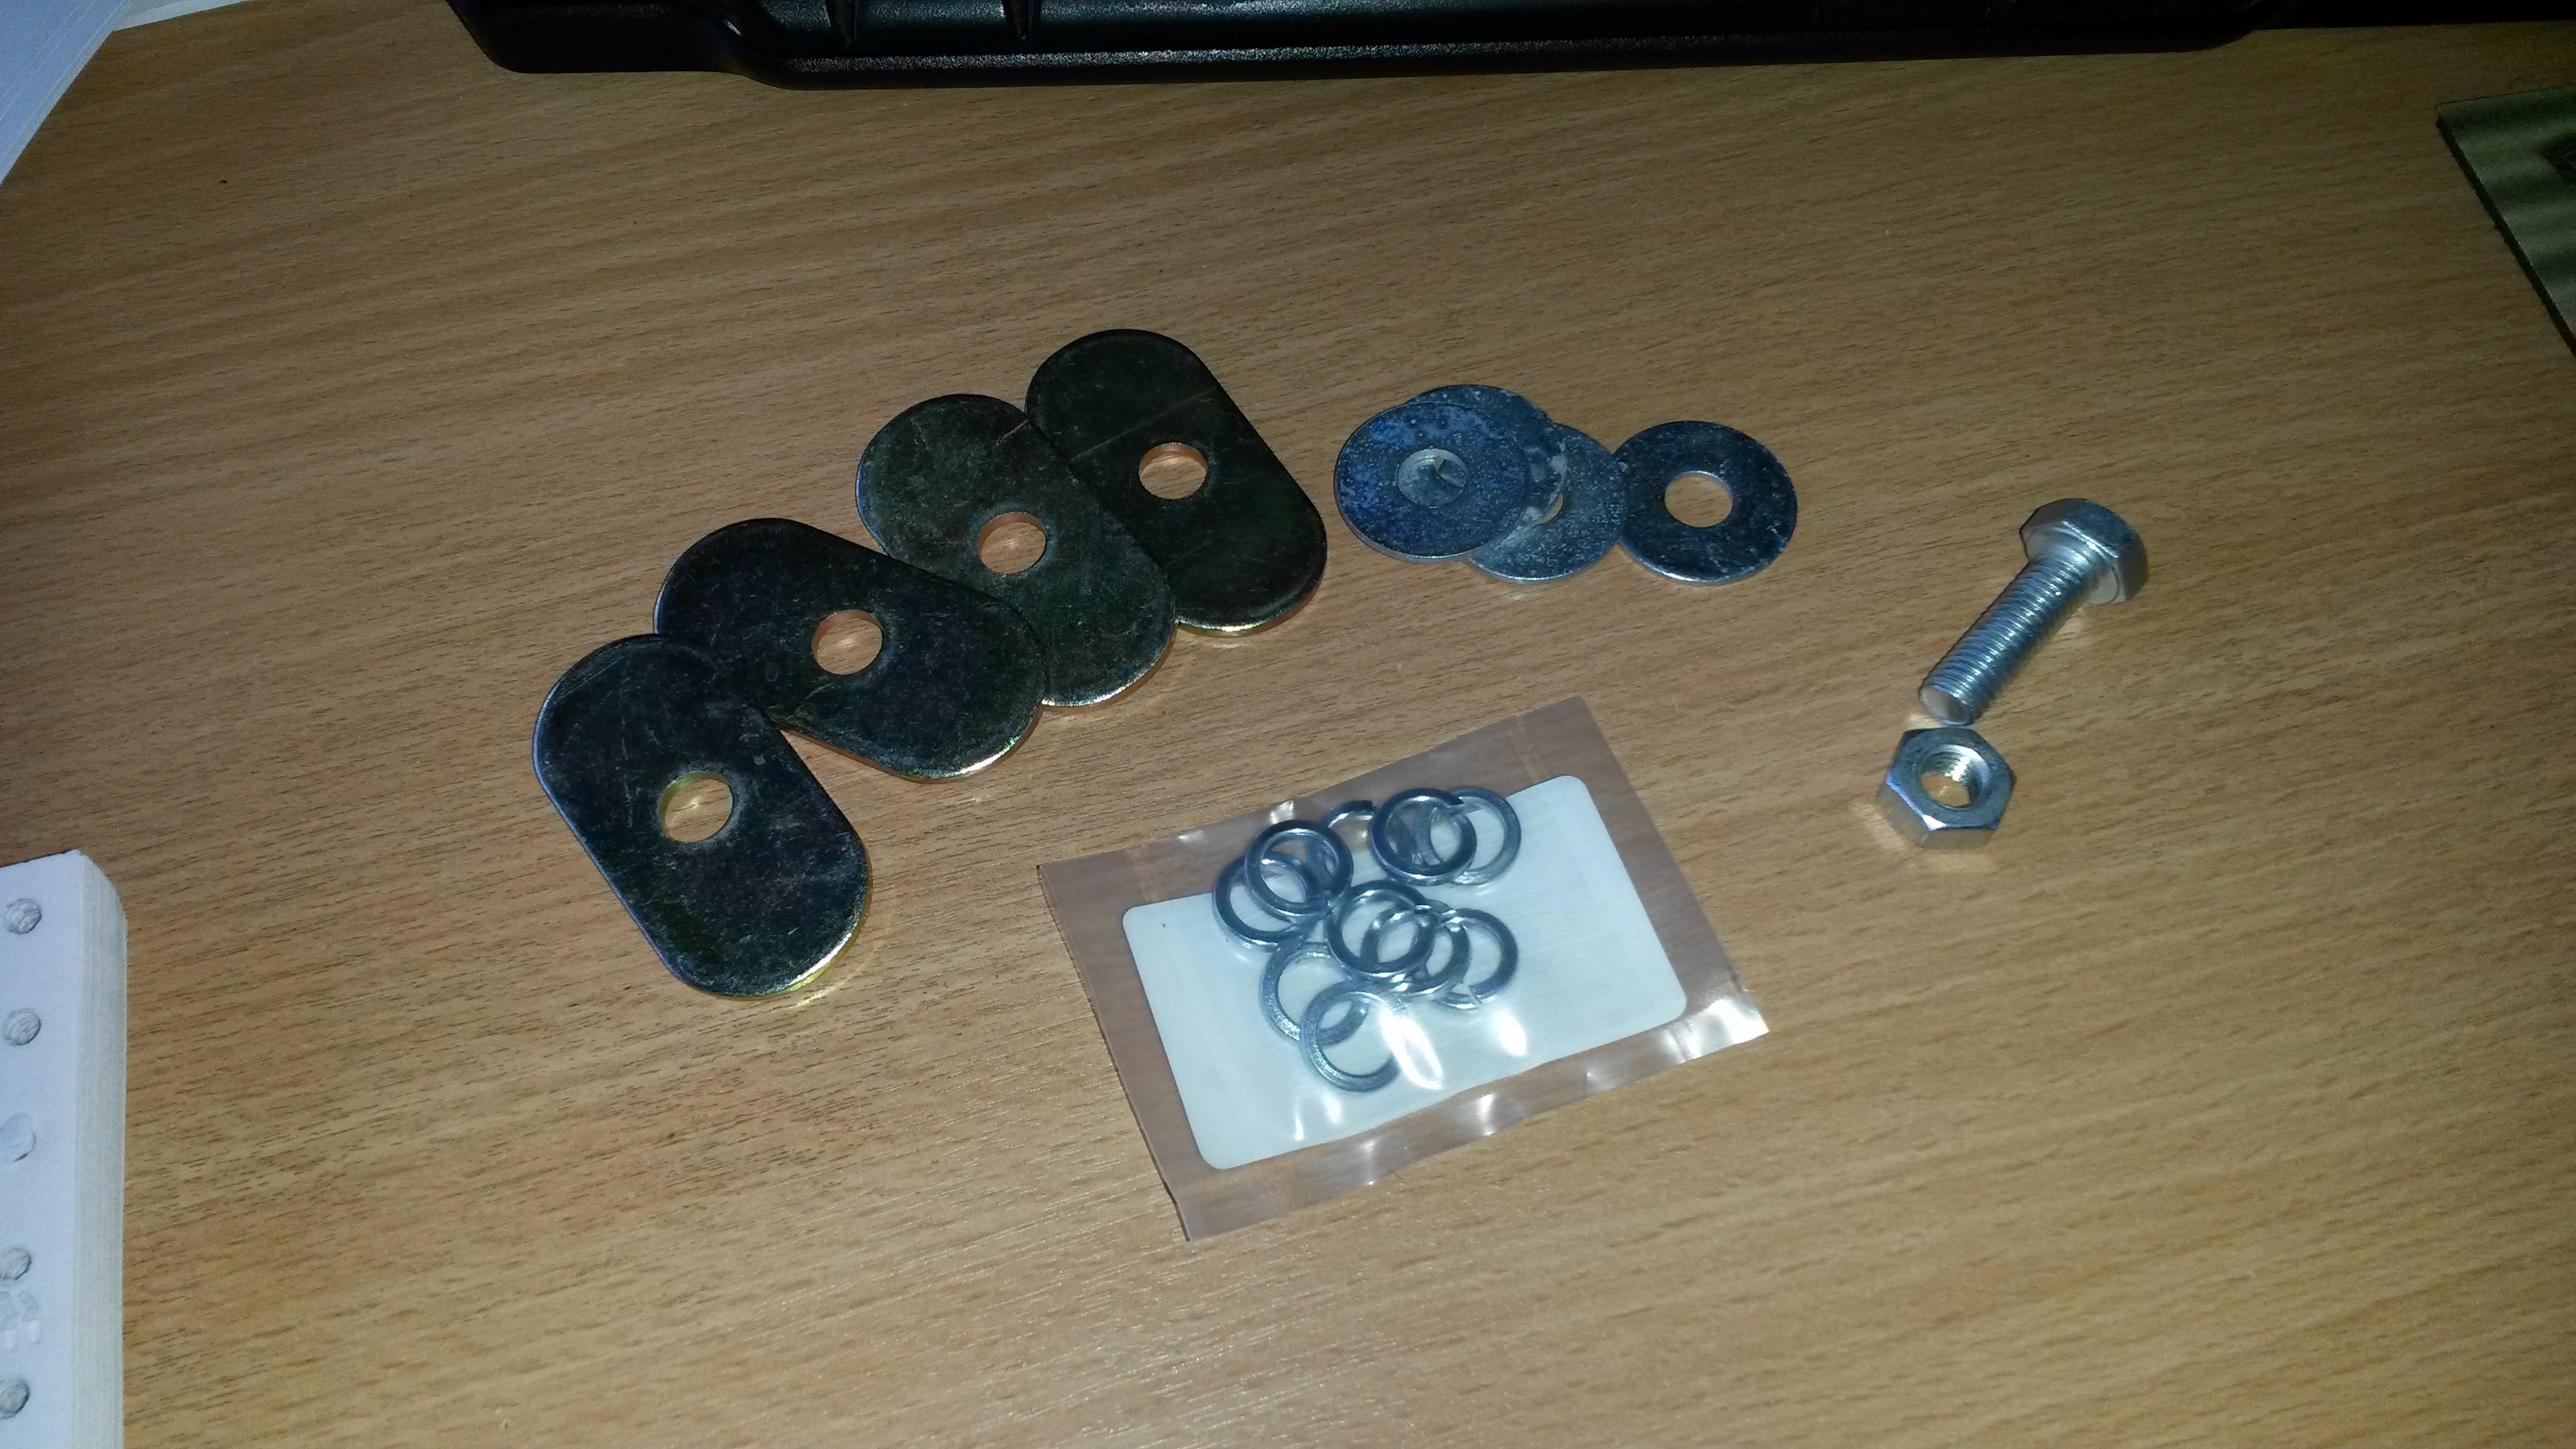
Fixings washers from HVC, the oval spreader washers being MGA parts, but are perfect for this job!!
Well it feels like it’s really coming along and I’m getting somewhere!!!